In the fast-paced world of Nigerian retail, time is money. If you run a supermarket, pharmacy, or boutique, you know the frustration of long queues. When customers have to wait while your staff manually searches for items on a screen, they get impatient. This slows down your operations and hurts your sales volume. The most effective way to solve this is by using barcode scanning. With SaleTick, you can automate your checkout process to ensure speed, accuracy, and customer satisfaction.
Why Manual Entry is Hurting Your Business
Manual product selection is the primary cause of checkout bottlenecks. It is slow, prone to human error, and makes it difficult to track inventory accurately. If your staff selects the wrong product or enters the wrong quantity, your stock reports become unreliable. By switching to barcode scanning, you eliminate these errors. The system identifies the exact product instantly, updates your inventory in real-time, and ensures your pricing is always correct.
Step-by-Step: Implementing Barcode Scanning on SaleTick
To start scanning for checkout, you must first ensure your product data is correctly set up in the SaleTick app. To learn about adding products, read this article, How to Add Products to Your Inventory on SaleTick.
You must also login to the SaleTick app either as a Branch Manager, Account Staff or POS Staff as only these account types can checkout products. Follow this exact process to use a barcode scanner for faster checkout:
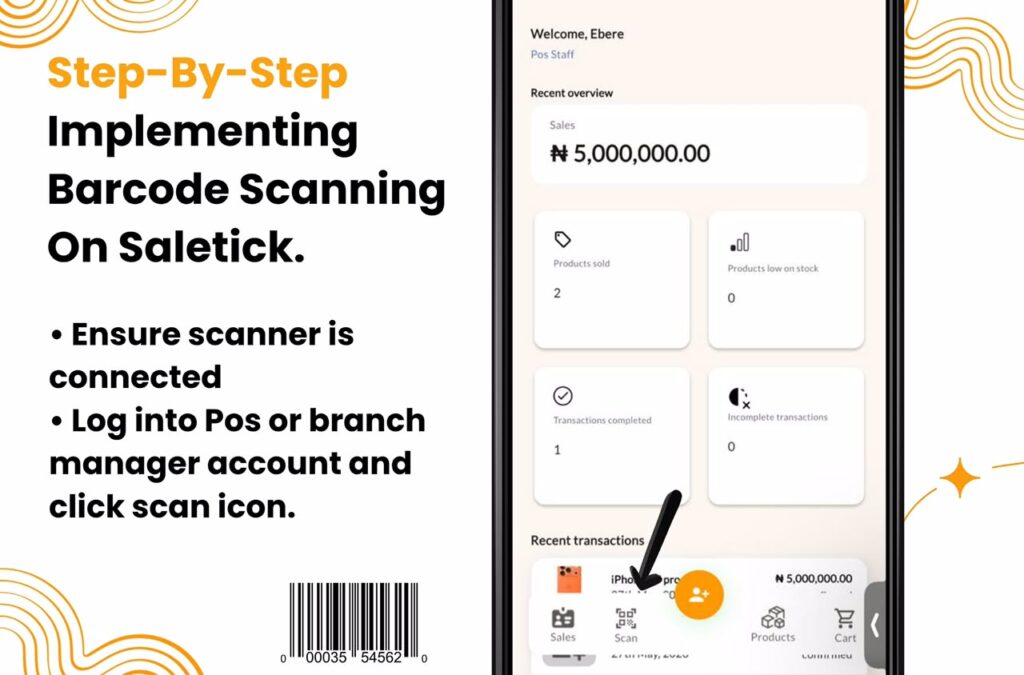
1. Ensure Scanner Is Connected: To process a customer’s purchase, ensure the external scanner has been connected via Bluetooth.
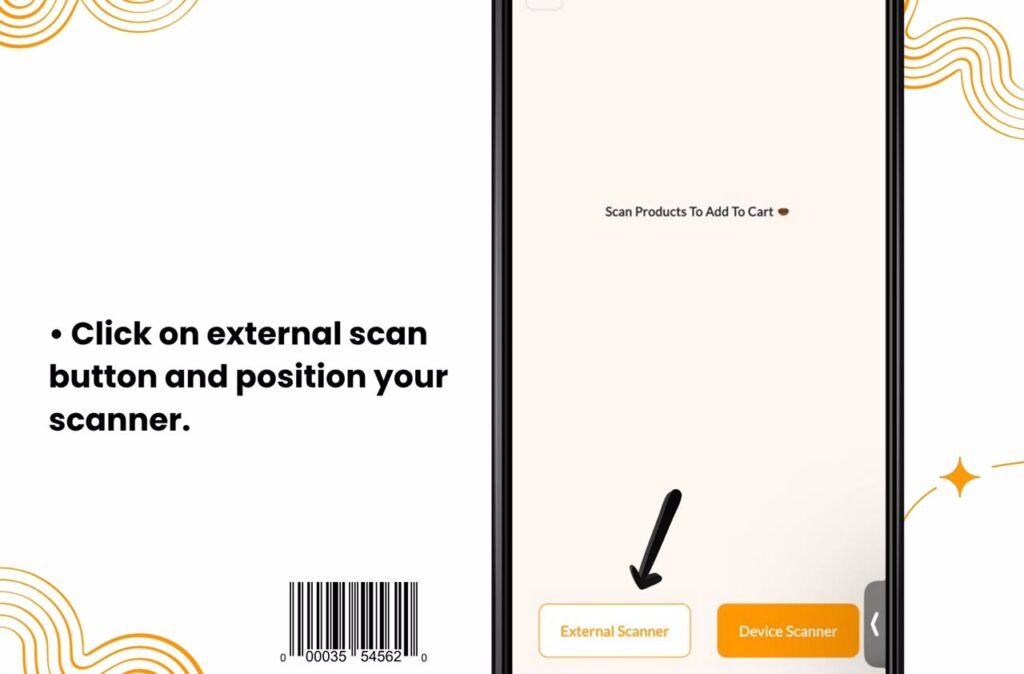
2. Use the Scan Feature: Once connected, login to the Branch Manager or POS Staff Account tap the **Scan** icon located as the second icon of your bottom navigation bar. This opens the Scan Product to Add to Cart screen. In the Scan Products to Add to Cart screen click on External Scanner to make use of your connected barcode scanner.
3. Position Your Scanner: Once you click on the External Scanner button, the app will prompt you to “Position the external barcode scanner to capture.” Ensure your USB or Bluetooth scanner is connected and active.
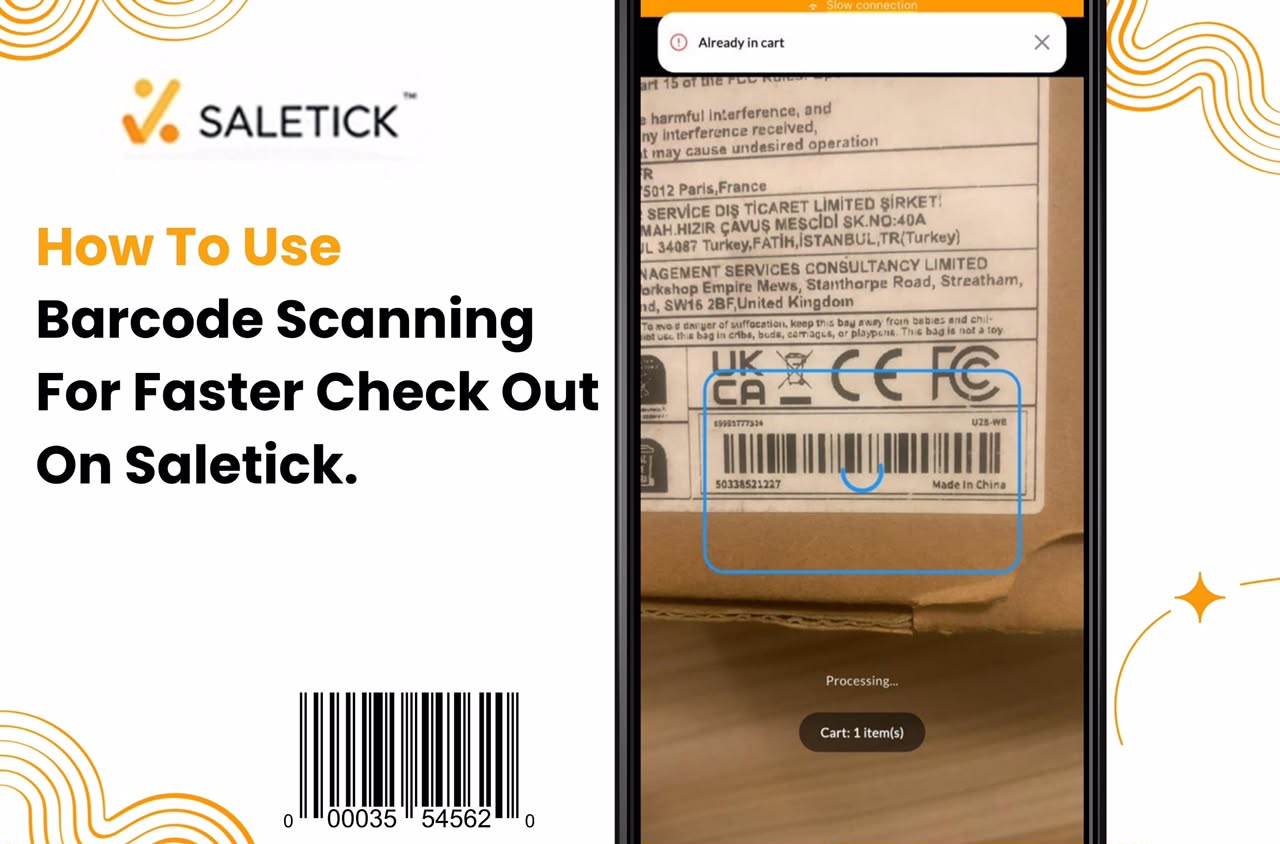
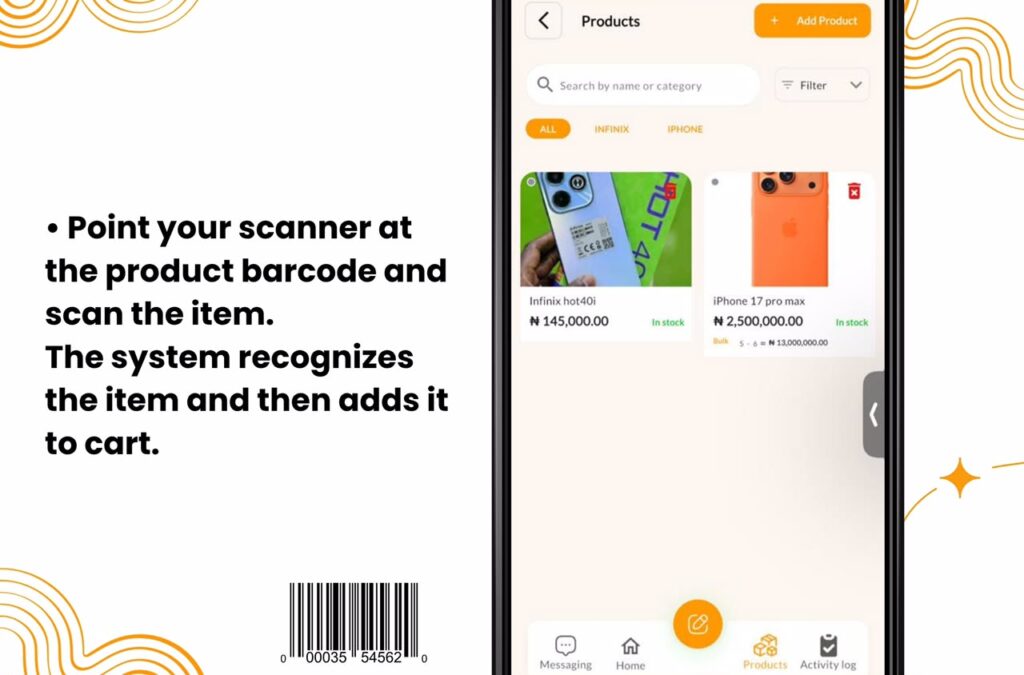
4. Scan the Item: Point your scanner at the product barcode. The system will immediately recognize the item, display the name, and add it to the cart. You can track your progress by looking at the Cart button at the top of the screen, which updates the count of items added.
5. Finalize the Transaction: Once all items are scanned, tap the Cart button to review the order. Tap Checkout, select the payment method (Cash, Transfer, or Card), and complete the order.
Real-Life Example
Imagine a customer walks into your shop with ten different items. If your staff searches for each item by name, it could take three minutes. With the SaleTick Scan Product to Add to Cart feature, the same transaction takes less than thirty seconds. This efficiency allows you to serve more customers during peak hours, which directly increases your daily revenue.
Visualizing the Process
To help you get started, we have prepared a video tutorial that walks you through the entire setup process on the SaleTick app.
Click Here To Watch Practical YouTube Video
Why Choose SaleTick for Your POS Needs
SaleTick is built specifically for the needs of Nigerian SMEs. It is designed to be intuitive, fast, and reliable. Beyond just scanning, SaleTick provides you with detailed insights into your sales performance, inventory levels, and profit margins. By automating your checkout, you are not just saving time; you are building a professional system that helps your business scale.
Barcode scanning is no longer a luxury for big supermarkets; it is a necessity for any business that wants to grow. It reduces errors, speeds up your service, and gives you better control over your inventory. Stop wasting time on manual entry and start using the tools that will help your business thrive.
Ready to transform your checkout experience? Log in to your SaleTick account today to start adding barcodes to your products.