If you’re a small business owner looking to install Saletick and start managing your sales, stock, and profits from your phone, you’re in the right place.
This guide walks you through the complete Saletick installation process for both Android and iPhone, plus exactly what to do the moment the app is set up so you start seeing results immediately.
- What is Saletick, and who is it for?
- What you can do with Saletick after installing
- How to install Saletick on Android
- How to install Saletick on iPhone
- How to set up Saletick after installing (7 steps)
- Mistakes to avoid after installation
- Frequently asked questions (FAQ)
Watch: Step-by-Step Saletick Installation Guide
Before going through the written steps, watch this quick walkthrough.
This video shows you exactly how to install and set up Saletick from scratch in just a few minutes.
What Is Saletick and Who Is It For?
Saletick is a business management app built specifically for small business owners in Nigeria. It helps you track sales, manage stock, monitor staff performance, and understand your profit, all from your smartphone.
This guide is ideal for:
- Small shop and retail store owners who are done with manual record-keeping
- POS business owners looking for a smarter tracking system
- Entrepreneurs managing one or more store locations
- Anyone switching from spreadsheets or notebooks to a digital solution
Unlike general-purpose business tools that overwhelm you with complexity, Saletick is designed to help you start immediately, with no training or technical background required.
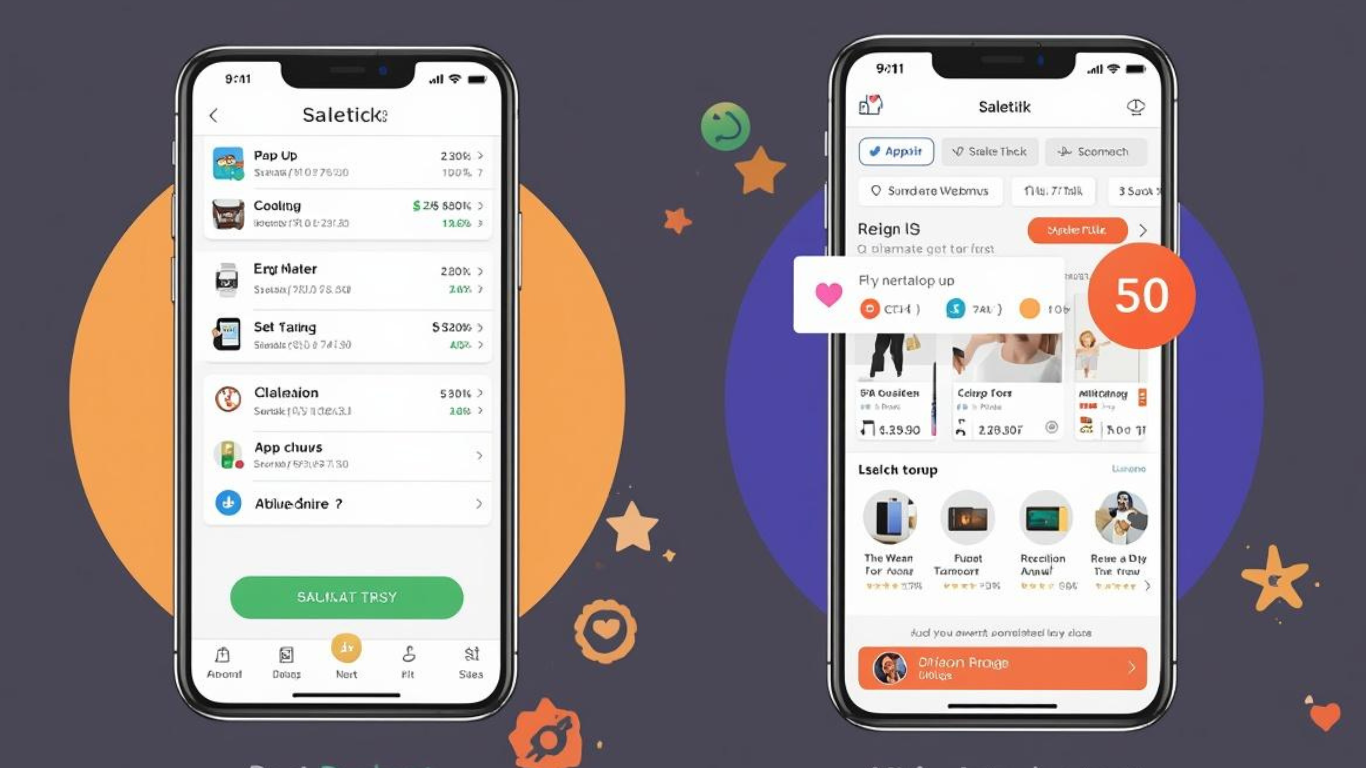
What You Can Do With Saletick After Installing
Before walking through the installation steps, here’s a quick overview of what you get once Saletick is set up on your phone:
- Real-time sales tracking — Every sale is recorded instantly
- Automatic profit calculation — No manual maths needed
- Inventory management — Know exactly what’s in stock at all times
- Staff performance monitoring — See who’s selling what and when
- Business dashboard — A clear overview of your business health in one place

How to Install Saletick on Android
Follow these steps to download and install Saletick on your Android device:
- Open the Google Play Store on your Android phone
- Tap the search bar and type “Saletick”
- Select the official Saletick app from the search results
- Tap Install and wait for the download to complete
- Once installed, tap Open to launch the app
The download takes only a few seconds on a standard internet connection. You do not need a special device; Saletick works on most Android smartphones.
How to Install Saletick on iPhone
If you’re using an iPhone, here’s how to install Saletick from the Apple App Store:
- Open the Apple App Store on your iPhone
- Tap the search icon and type “Saletick”
- Locate the official Saletick listing and tap Get
- Authenticate with Face ID, Touch ID, or your Apple ID password
- Once downloaded, tap Open to launch the app
How to Set Up Saletick After Installing (7 Steps): Use Saletick
Installing the app is only the beginning. Here’s how to complete your Saletick setup and start using it effectively from day one.
Step 1
Create your account
When you open Saletick for the first time, you’ll be prompted to create an account. Enter your:
- Business name
- Phone number or email address
- A secure password
Keep this simple. You can update your business details later inside the app settings.
Step 2
Allow required permissions
Saletick may ask for access to notifications or your camera (for scanning barcodes). Tap Allow for the features you want to use. These permissions help the app run smoothly.
Step 3
Set up your store
Once inside the app, configure your basic store settings:
- Add your business name
- Select your currency (Nigerian Naira — ₦)
- Set your preferred time zone
This step prepares your workspace before you start adding products.
Step 4 CRITICAL
Add your first product
This is the most important step. Most users install the app and stop here — don’t make that mistake.
- Go to Products / Inventory
- Tap Add Product
- Enter the product name, selling price, and quantity in stock
- Save
Once you add your first product, your Saletick system is officially live.
Step 5
Record your first sale
Do this immediately after adding a product. Don’t wait.
- Go to the Sales section
- Select the product you just added
- Enter the quantity sold
- Complete the transaction
You’ll instantly see your stock update, the sale recorded, and your dashboard reflect the new data. This is where Saletick starts working for you.
Step 6
Add your remaining products.
Repeat Step 4 for the rest of your inventory. You don’t have to add everything at once — start with your top-selling items and build from there. Saletick works even as your product list grows.
Step 7
Check your business dashboard
Head to your Saletick dashboard. You’ll now see:
- Sales activity from the day
- Current stock levels across all products
- Business performance data and profit insights
This dashboard becomes your daily command centre for running your business.
Mistakes to Avoid After Installing Saletick
Most users who don’t see results from Saletick make one of these three mistakes. Avoid them from day one.
- Installing the app but never adding products — Saletick can’t track what it doesn’t know exists. Add your inventory first.
- Waiting to record your first sale — Every hour you delay is data you lose. Record sales in real time, not at the end of the day.
- Trying to learn every feature before starting — The fastest way to learn Saletick is by using it. Start simple and explore as you grow.
The business owners who get the most from Saletick are not the most tech-savvy; they’re the ones who start using it immediately and build the habit early.
Why Saletick Works Better Than Spreadsheets
If you’re currently managing your business with Excel, Google Sheets, or a physical notebook, here’s what you gain by switching to Saletick:
- No more manual calculations — Saletick computes your profit automatically
- No more stock shortages — the app alerts you when inventory runs low
- No more end-of-month surprises — sales data is updated in real time, every transaction
- No need for a computer — manage everything from your smartphone
Saletick is built for the way Nigerian small businesses actually operate: fast-moving, mobile-first, and with limited time for administrative work.
Frequently Asked Questions About Saletick Ask
Is Saletick free to install?
Saletick is free to download on both Android and iPhone. Visit the Google Play Store or Apple App Store to install it at no cost. Some advanced features may require a subscription — check the app for current plan options.
Can I use Saletick without internet?
Saletick requires an internet connection to sync data across devices and to keep your dashboard updated in real time. However, you can record sales offline and sync when you reconnect.
Can I manage multiple stores with Saletick?
Yes. Saletick supports multi-store management, allowing business owners to monitor performance across different locations from a single account.
Is Saletick suitable for POS businesses?
Absolutely. Saletick is commonly used by POS operators, retail shop owners, and market traders across Nigeria who need a fast, reliable way to track daily transactions and stock.
How long does it take to set up Saletick?
Most users complete the full Saletick setup — from installation to recording their first sale — in under 5 minutes. The app is designed to be intuitive from the very first screen.
What should I do if Saletick is not showing on the Play Store or App Store?
If you can’t find Saletick in your app store, try searching the full name “Saletick” without abbreviations. Ensure your device meets the minimum OS requirements. If the problem persists, contact Saletick’s support team directly through their official website.
Ready to take control of your business?
Download Saletick today and set up your business in under 5 minutes. No technical knowledge needed.
Download